
RECENT POSTS


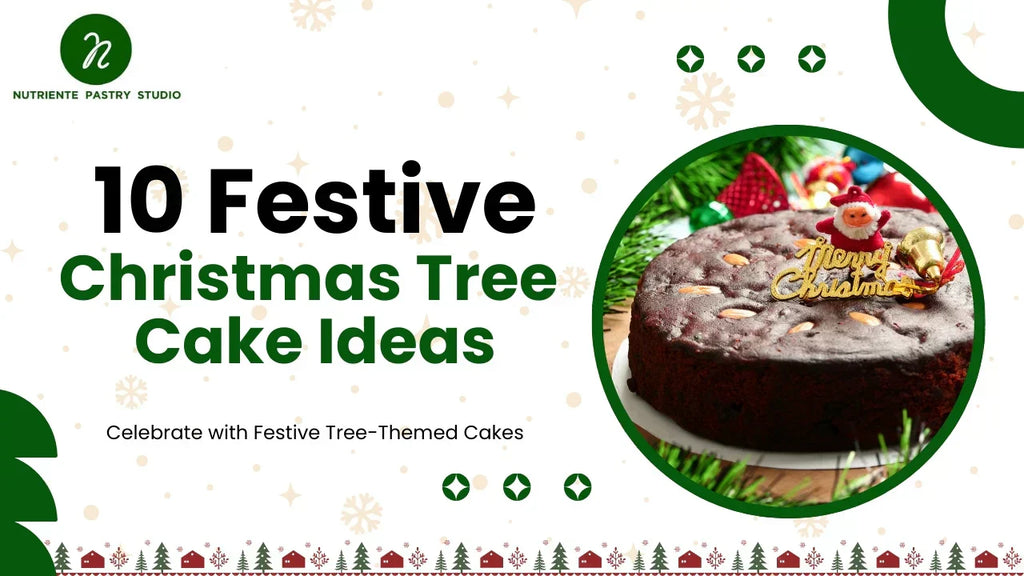
10 Festive Christmas Tree Cake Ideas (That Anyone Can Make)
10 Festive Christmas Tree Cake Ideas (That Anyone Can Make)
Christmas baking hits different when there’s a cute Christmas tree on the table. The best part? You don’t need pro-level piping skills or fancy tools to create a Christmas tree cake that looks like it came from a boutique pastry studio.
With simple buttercream techniques, sprinkles, and a few clever shortcuts, you can turn a basic cake into a centerpiece for your holiday party.
Below are 10 Christmas tree cake ideas that are beginner-friendly, Instagrammable, and perfect for both kids and adults.
1. Classic Buttercream Christmas Tree Cake

Vibe: Cozy, traditional, and very “holiday card” aesthetic.
How to decorate it:
- Start with a round or tall layered cake.
- Cover the cake in a light snowy white or soft pastel background buttercream (light blue looks gorgeous).
- Pipe a large Christmas tree shape on the front using a star tip and green buttercream (build it from bottom to top like stacked triangles).
- Add mini sugar pearls, sprinkles, or chopped pistachios as “ornaments”.
- Finish with a small fondant or chocolate star on top.
Why it works:
The star-tip piping automatically creates the look of fluffy tree branches — no detailed drawing needed.
2. 3D Cone Christmas Tree Forest Cake

Vibe: Minimal, modern, very “Pinterest”.
How to decorate it:
- Frost your cake with smooth white or very pale pastel buttercream to imitate fresh snow.
- Use ice cream cones flipped upside down as Christmas trees.
- Coat the cones with green buttercream using a small star or leaf tip.
- Add a light dusting of powdered sugar to look like snow.
- Decorate each cone-tree differently — some with sprinkles, some with gold dragees, some left simple.
Pro tip:
Use different cone sizes (mini cones + regular cones) to create a “forest” of trees in the center or off to one side.
3. Rustic Naked Christmas Tree Cake

Vibe: Rustic, cozy, perfect for a more “grown-up” holiday dinner.
How to decorate it:
- Bake a simple vanilla, carrot, or spice cake in 3 layers.
- Lightly frost the outside so that some cake layers are still visible (naked cake style).
- Pipe small buttercream Christmas trees around the top edge using green buttercream.
- Decorate with cranberries and rosemary sprigs to look like berries and pine branches.
- Finish with a light dusting of powdered sugar over the top for a snowy effect.
Why it’s easy:
The naked style is forgiving — you don’t need a perfectly smooth finish.
4. Pull-Apart Cupcake Christmas Tree Cake

Vibe: Totally beginner-friendly and perfect for parties with kids.
How to decorate it:
- Arrange cupcakes in the shape of a Christmas tree on a board or tray (triangle shape with a small trunk at the bottom).
- Frost the cupcakes together with green buttercream so it looks like a single large tree.
- Add colored candies, M&M’s, or sprinkles as ornaments.
- Pipe a little brown “trunk” at the bottom using chocolate frosting.
- Top with a large fondant or cookie star.
Why it’s a win:
No slicing needed — guests just grab a cupcake. Great for school events or office parties.
5. Snowy Night Sky Christmas Tree Cake

Vibe: Dark, elegant, and super aesthetic.
How to decorate it:
- Frost your cake with deep navy or midnight blue buttercream.
- Flick tiny white dots of thinned white icing or food-coloring paint to create stars (you can use a brush and gently tap it).
- Pipe a tall, slim Christmas tree silhouette using dark green or black buttercream, then outline it with a thin line of white or gold.
- Add edible gold stars or metallic sprinkles around the tree.
Optional:
Place a single gold star at the top so it pops against the dark sky.
6. Ombre Christmas Tree Layer Cake

Vibe: Trendy and impressive when sliced.
How to decorate it (inside + outside):
- Tint each cake layer a different shade of green — from pale mint on top to deep forest green at the bottom.
- Stack the layers with vanilla or cream cheese frosting.
- On the outside, frost the cake white or very light green.
- Pipe small trees in ombre shades around the sides: darker trees near the bottom, lighter trees near the top.
- Cut a slice to reveal the ombre effect inside — it’s a fun surprise.
Tip:
Gel food coloring gives more control over the shades without making the batter too thin.
7. Sprinkle-Loaded Christmas Tree Cake

Vibe: Fun, loud, and made for kids (and kids at heart).
How to decorate it:
- Cover the cake with white or light green buttercream.
- Use a stencil or cut a tree shape out of parchment paper.
- Place the tree stencil on the cake and press green sprinkles, sanding sugar, or colored sugar crystals into the exposed area.
- When you lift the stencil, you’ll have a clean, sprinkle-filled Christmas tree shape.
- Add a border of red and green sprinkles around the base of the cake.
Why it’s great for beginners:
The stencil does the hard work, and sprinkles hide any minor imperfections.
8. Chocolate Drip Christmas Tree Cake

Vibe: Luxe, rich, and perfect for chocolate lovers.
How to decorate it:
- Make a chocolate ganache drip and pour it around the top edges so it drips down the sides.
- Pipe small buttercream Christmas trees along the top edge or in a ring on top.
- Decorate each tree with tiny sugar pearls or gold dragees.
- Add some crushed candy cane for a peppermint-chocolate twist.
Flavor upgrade:
Use peppermint buttercream with chocolate cake for classic holiday flavor.
9. Gingerbread Village Christmas Tree Cake

Vibe: Cozy storybook scene in cake form.
How to decorate it:
- Frost your cake with soft white or cream-colored buttercream.
- Pipe several green buttercream Christmas trees of different heights around the sides.
- Add small gingerbread cookie houses placed at the base of the trees.
- Dust the whole cake with powdered sugar for a snow-covered village look.
- If you want extra detail, pipe tiny “pathways” in white or light cocoa buttercream.
Perfect for:
Holiday dinners when you want the cake to double as décor and dessert.
10. Minimalist “Line Art” Christmas Tree Cake

Vibe: Chic, modern, and very on-trend for minimalist dessert styling.
How to decorate it:
- Frost the cake completely smooth in white or cream buttercream.
- Using a piping bag with a very small round tip, pipe a single continuous line that swirls up in a zig-zag pattern to create the outline of a Christmas tree.
- Keep the design simple — no heavy textures, just elegant line work.
- Add one small gold or red dot at the top as a star and a few tiny dots as ornaments.
- You can outline the base with a clean ribbon around the bottom of the cake for a finished look.
Why it stands out:
It looks like a custom designer cake but requires only basic piping control.
Easy Ways to Make Any Christmas Tree Cake Look More Professional
Even simple designs can look bakery-level with a few tricks:
-
Chill your cake layers before decorating
Cold cake = fewer crumbs in the frosting and cleaner edges. - Use gel food coloring, not liquid
Gels give rich color without watering down your buttercream. -
Stick to 2–3 main colors
Too many colors can make the cake look messy. A simple palette (like green, white, and gold) keeps it elegant.
-
Add texture with piping tips
Star tips, leaf tips, or even just a small round tip can create branches, garlands, and tinsel-like textures.
-
Finish with “snow”
A final dusting of powdered sugar or white sanding sugar instantly makes everything look festive.
Final Thoughts
Christmas tree cakes don’t have to be complicated to be impressive. With a few good piping tips, some sprinkles, and a bit of creativity, you can turn a simple cake into a holiday centerpiece that everyone stops to admire before they ask for a slice.
Christmas & Santa Claus Mini Desserts to Sweeten Your Holidays


